HCI Lab 1
Hi everyone !
Last friday during my first lab, I learned with the help of a fellow student, Thibault Ellong, how to make a blog with astro.build, and how to deploy it with GitHub. A week before that I had also learned during my Computer Graphic Class, how to setup a Unity project.
1. Building this blog
This is my very first time creating a blog. To chose a good static site generator I followed the advice of my comrades and started to build with Astro.
The first thing I had to do was to install Node.js and npm on my computer. Do it with this site .
Now, after creating a folder on your device where all your work will be, you can chose the template you want on astro website . Open a terminal and place yourself in your previously created folder (careful about that, I made the mistake and I had to change everything by hand afetrward). Now you can create you new project with npm :
mkdir your_local_project_folder
cd /your_local_project_folder
npm create astro@latest
It’s now, time to create your github repository to be able to update your website in the future. For that follow the steps on the github website.
Name your repository
Now you go back to your terminal, in your folder and you can clone your repository and update your files :
cd /your_local_project_folder
git clone https://www.github.com/<username>/<username>.github.io.git
git add *
git commit -m "first commit"
git push
Now go in the astro.config.mjs file in your project and suppress everything to replace it with this block :
import { defineConfig } from 'astro/config'
export default defineConfig({
  site: 'https://<username>.github.io',
})
In you project, you should now create a file .github, then inside a file workflow and inside a file deploy.yml
All left for you to do now is to follow this tutorial to deploy your Astro site to Github Pages.
2. First steps with Unity
During the first week of my class, I was introduced to Blender and Unity, which opened up a new realm of possibilities for me. I’ll be sharing the projects I have planned in a future post, but for now, let’s focus on my initial experiences with Unity and some essential knowledge that I’ve gathered, especially for beginners like myself.
Unity, I discovered, is a robust game development engine that offers a lot to learn. Of course choosing an engine when developping your own game depends before anything of your needs.
Here are some practical insights that can help beginners like me get started:
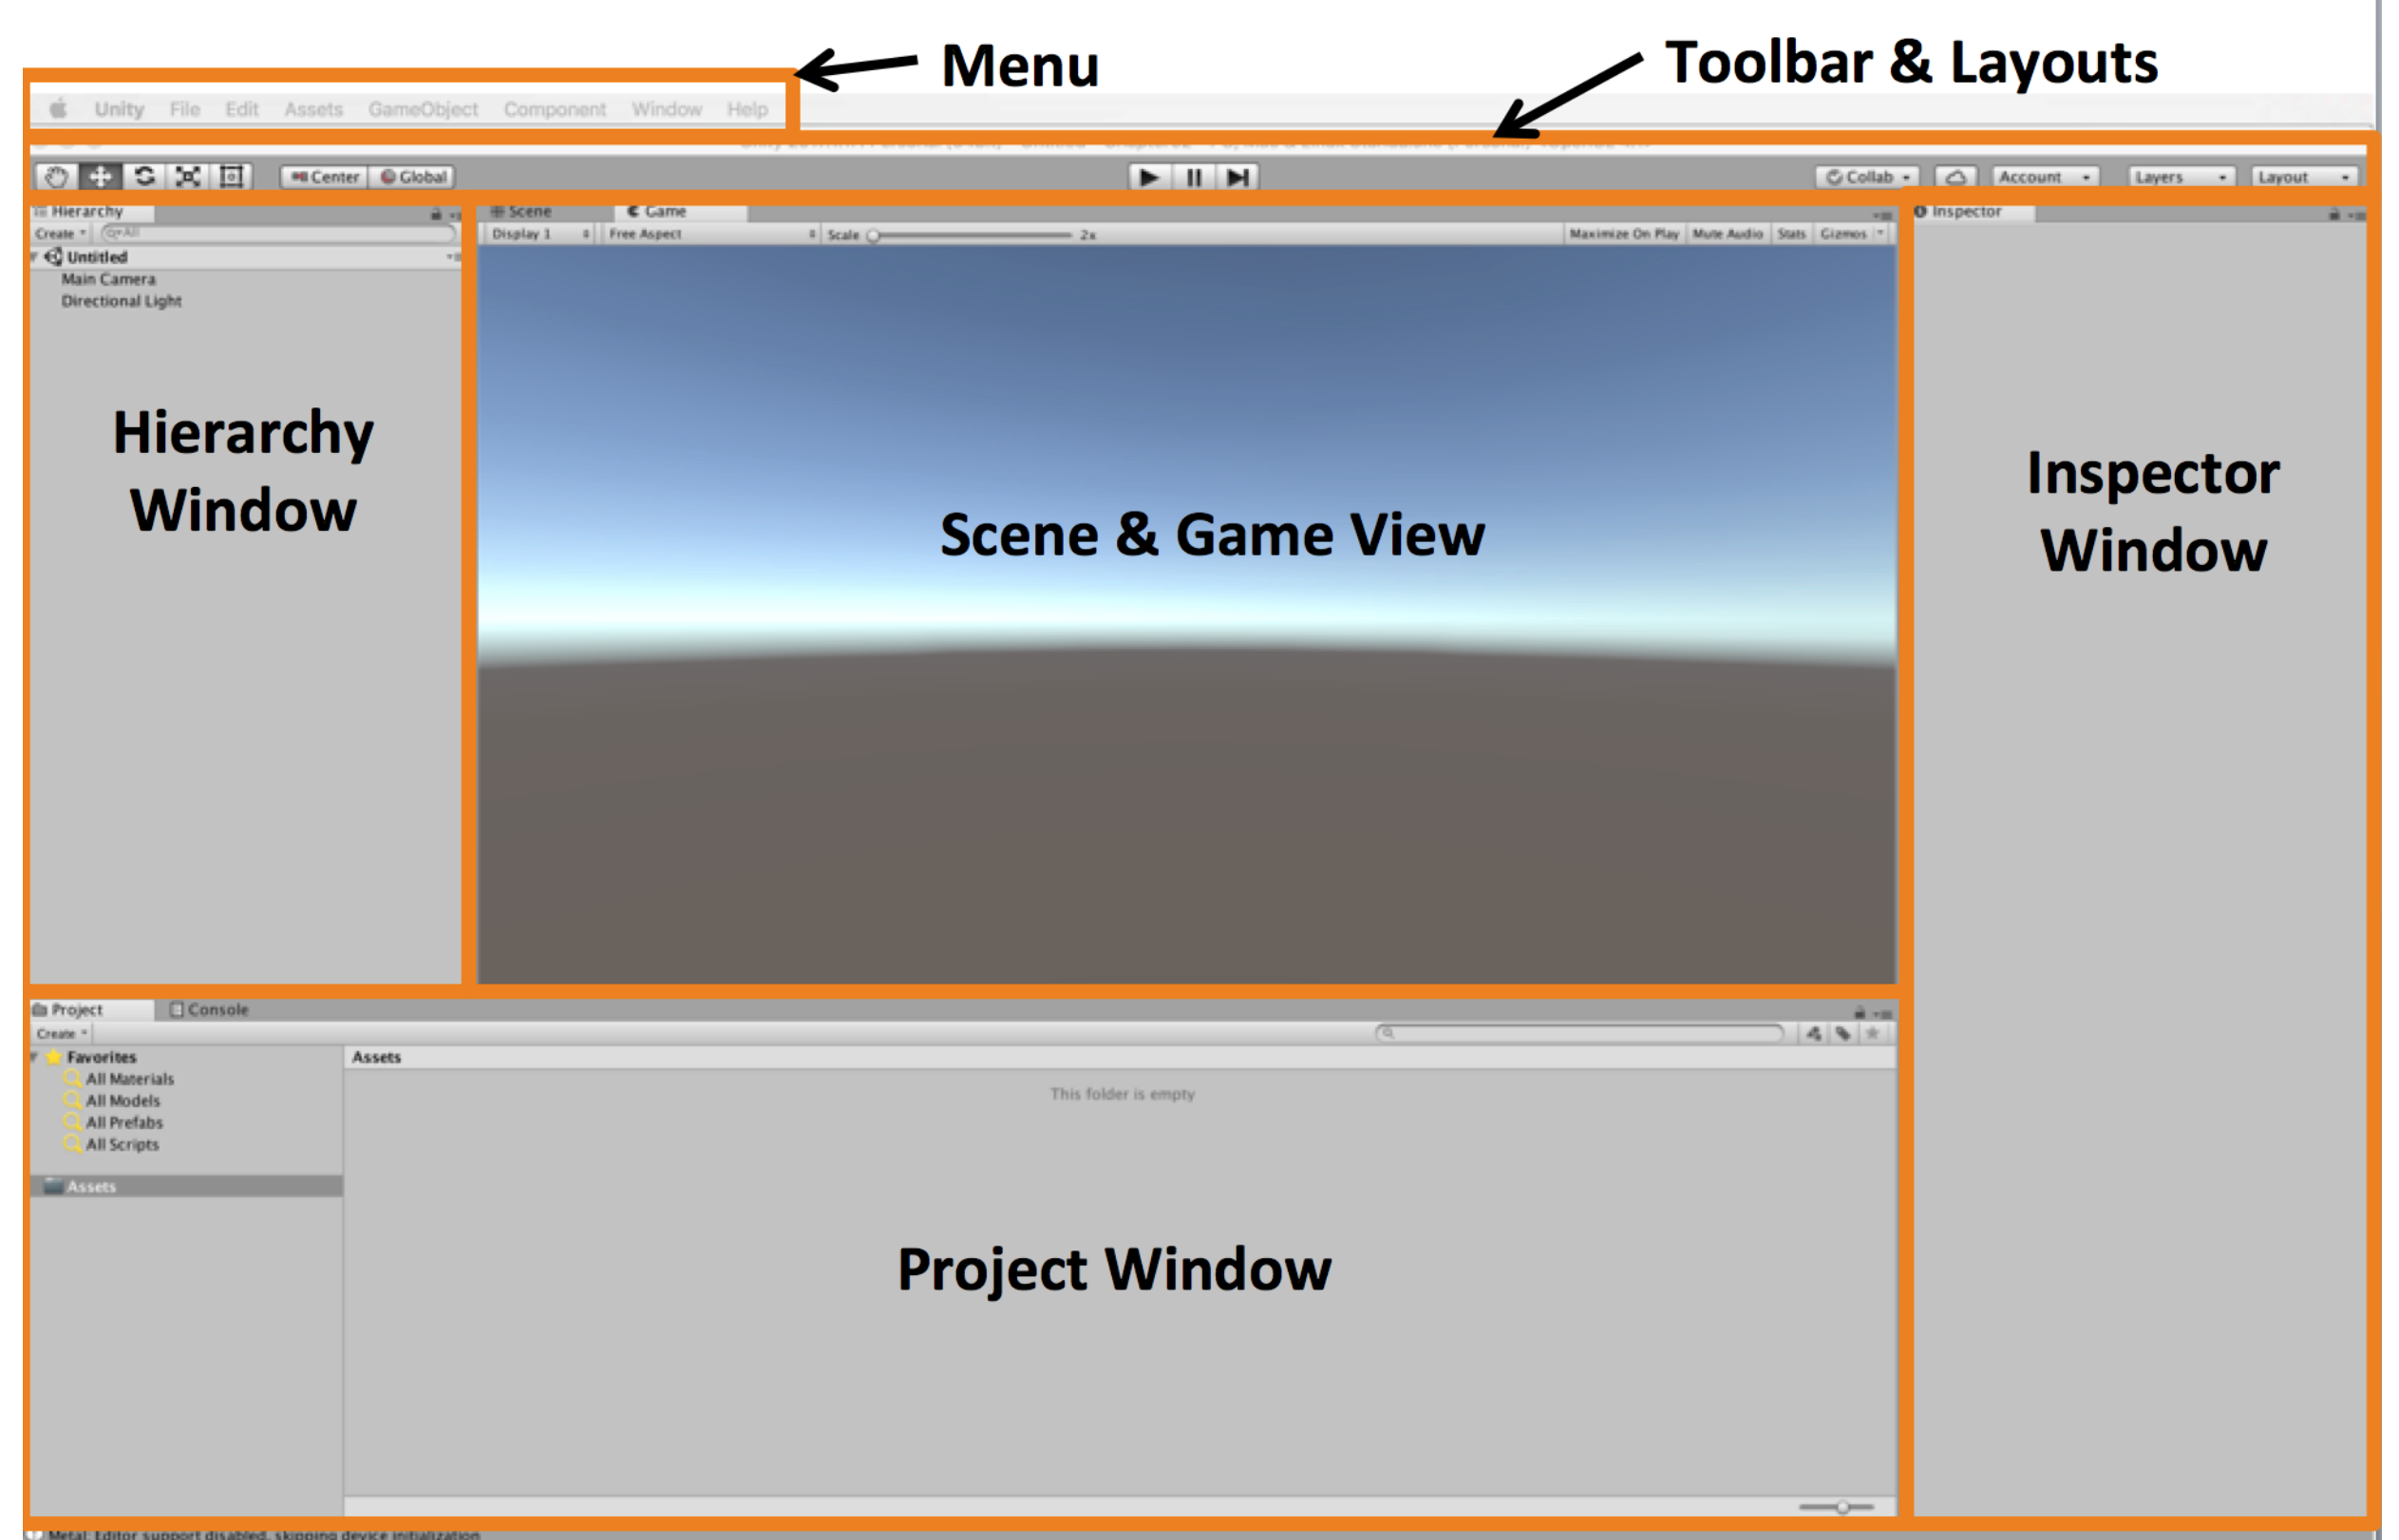
- Getting Familiar with the Interface: Unity’s interface can be a bit overwhelming initially. Take some time to explore the various panels, tabs, and windows. Becoming comfortable with the interface layout will make your journey smoother. The very first thing I learned was how the interface was devided between the different windows :
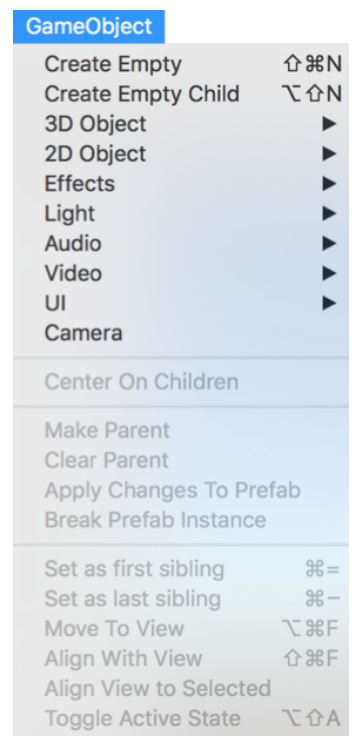
- Understanding Game Objects: In Unity, everything revolves around game objects, whether they’re characters, scenery, or interactive elements. Learning how to create and manipulate these game objects is fundamental.
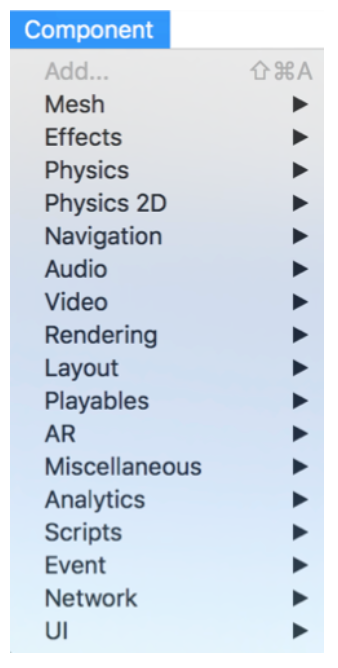
- Working with Components: Game objects come to life through components. Components are scripts or properties that define an object’s behavior, appearance, and interactions. Understanding how to attach and customize components is key to creating dynamic experiences.
- Utilizing the Asset Store: Unity provides an Asset Store with a vast library of pre-made assets, scripts, and templates. This resource can save you significant time and effort as a beginner. I mysefl used it a lot to create my first Plateformer with Unity.
As a beginner, I’m excited to continue my journey into Unity, and I invite you to come along with me. In the upcoming posts, I’ll share my progress, projects, and insights as we delve deeper into the world of game development with Unity. Stay tuned for more practical advice and experiences!
Here is a link to help you get started and which helped me writing this post WhatYouShouldKnowAboutUnity